How to Install Pipe & Drape
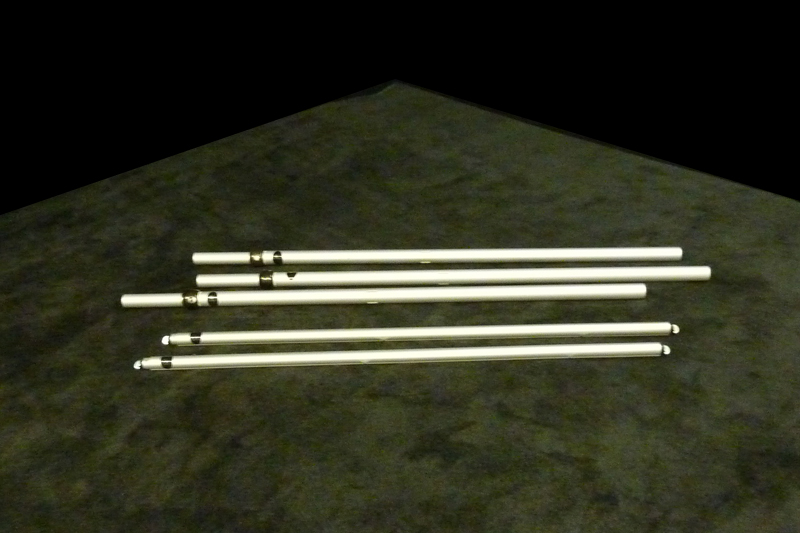
STEP 1: LAY OUT THE HORIZONTALS
Begin by laying out the drape support horizontals.
The most common length used is a 7′-12’ adjustable horizontal. Sizes range from 2′-3′ up to 9′-16′.
The horizontal drape support length is selected by the span that needs to be covered, and the weight of the fabric being hung.
TIP: Use a horizontal that is 1 to 2 feet less than the actual span that you wish to cover to achieve optimum stability.
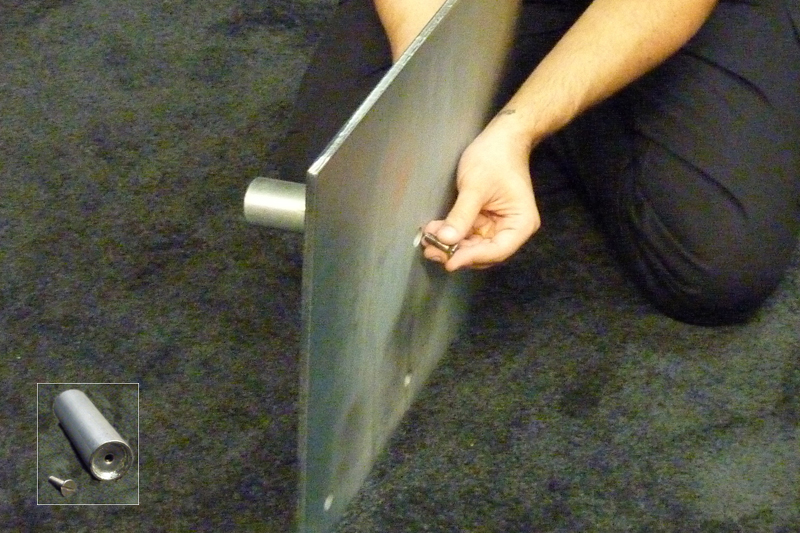
STEP 2: BASE & PINS
Next, select a screw hole in the base for the slip fit pin. The pin diameter and height is determined by the upright size being used. For sizing details, please refer to the Base Assembly page.
The center hole is always best for stability, but pins can be placed in any hole as long as there is additional weight provided by a sand bag, or if the base placement dictates that it can’t easily fall, for example if it’s backed against a wall.

STEP 3: BASE LAYOUT
Use your horizontals or a tape measure to define the distance between your bases.
Once the perimeter is laid out with horizontal drape supports, the next step is to select and place the pipe and drape bases.
Bases are selected by the height and weight of the drape to be hung.
DID YOU KNOW? Drape Kings 35lb 18″ x 18″ bases have nine holes. The industry standard pipe and drape base plate has 3 holes. Drape Kings bases offer maximum flexibility. Also, most pipe and drape sections are hung on 8′ to 10′ spans. This is usually based on the width of the fabric to be hung.
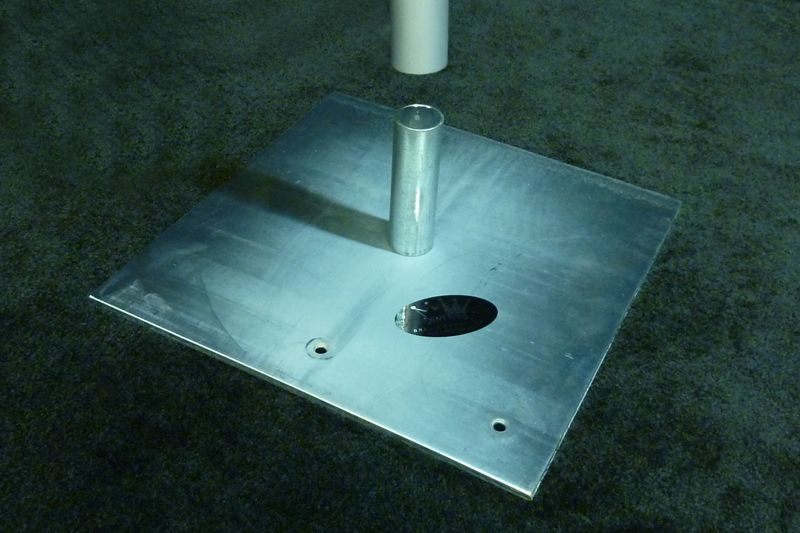
STEP 4: SLIP ON THE UPRIGHT!
Now slip the adjustable or fixed height upright over the pin.
If it’s adjustable, keep it at its lowest position for easier drape set-up.
TIP: Slip-Lock Adjustable uprights are usually better than fixed uprights as they offer more flexibility in any pipe and drape setup, and allow for easier installation at a lower position. Transport and storage is also easier since the upright is nearly half of its extended size when retracted.
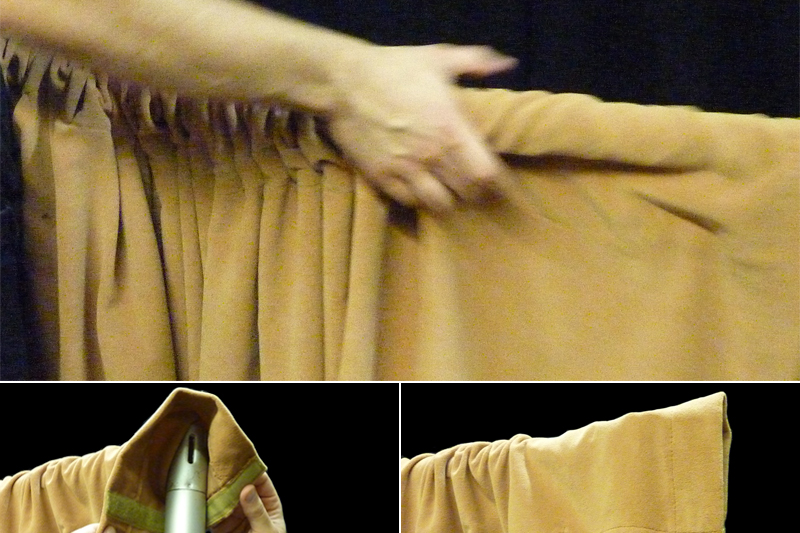
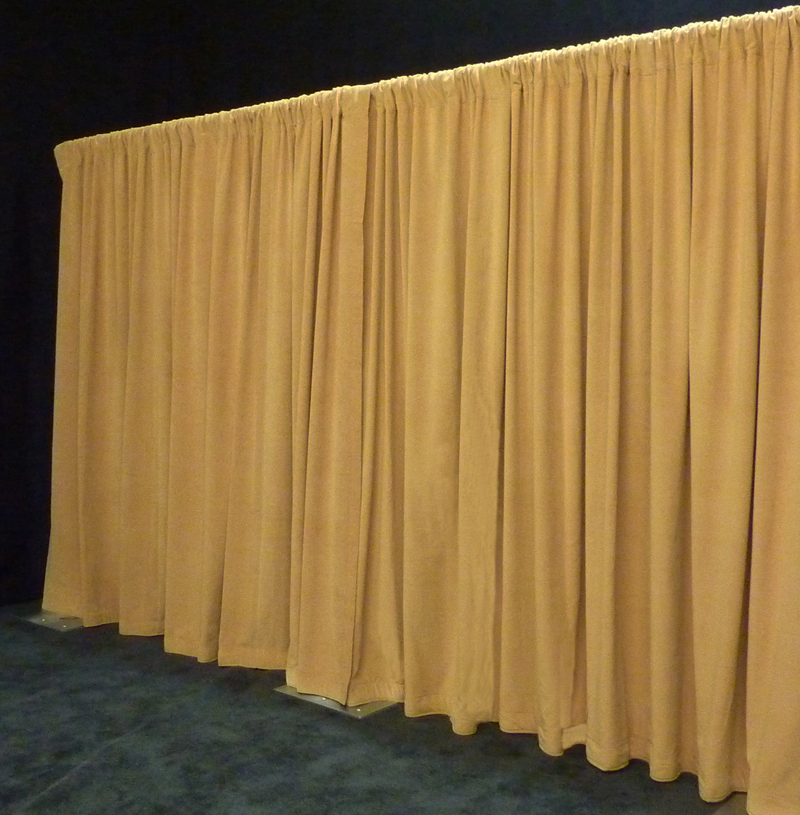
STEP 5: SLEEVING ON THE DRAPE
It’s time for the drape. Select the appropriate drape panel based on the size and desired fullness. Unfold, and locate the top tear-back velcro pockets, pull the pocket open and sleeve the entire drape panel on to the horizontal.
TIP: Drapery panels description labels are typically on the bottom-rear side of the drape and are always folded out for easy identification.
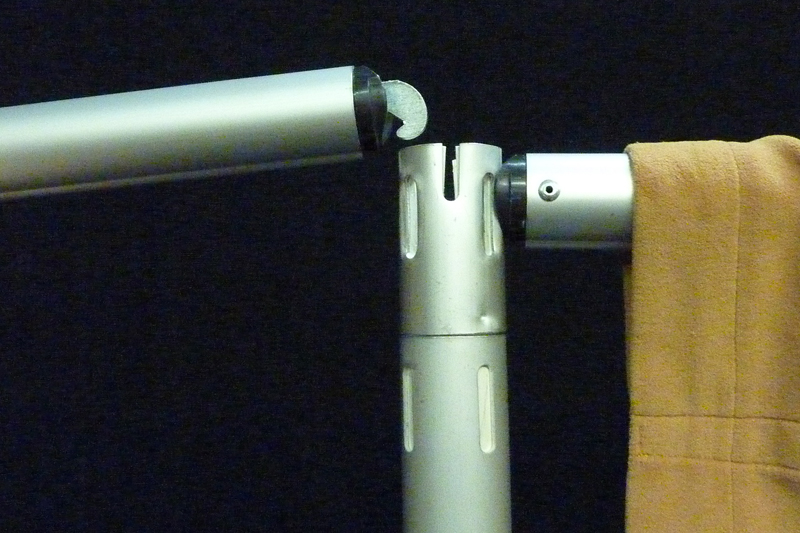
STEP 6: HOOK ON THE HORIZONTALS
Now hook each end of the drape horizontal into the Drape Kings upright vertical slots.
Using our top slot eliminates “humps,” as seen in most stock pipe and drape uprights. Next, using our original Velcro Tear Back pocket, close the end, which will create a flush overlapping finished look.
DID YOU KNOW? Drape Kings pioneered the NO HUMP look in Pipe and Drape, and to this day we are still the only major firm to use it on all of our adjustable uprights. It’s our standard practice to replace all 4-way uprights with our 8-way, at no additional charge for the rental.
STEP 7: LEVEL THE UPRIGHTS
Once all the horizontals are hooked into the uprights, you can level the run.
However, keep the adjustable uprights down, and don’t raise them until all final adjustments are made.
DID YOU KNOW? Adjustable uprights are available in a wide range of sizes from 3′-5′ all the way up to 14′-24′ high. Drape Kings doesn’t recommend anything higher than 22′, but there are exceptions.
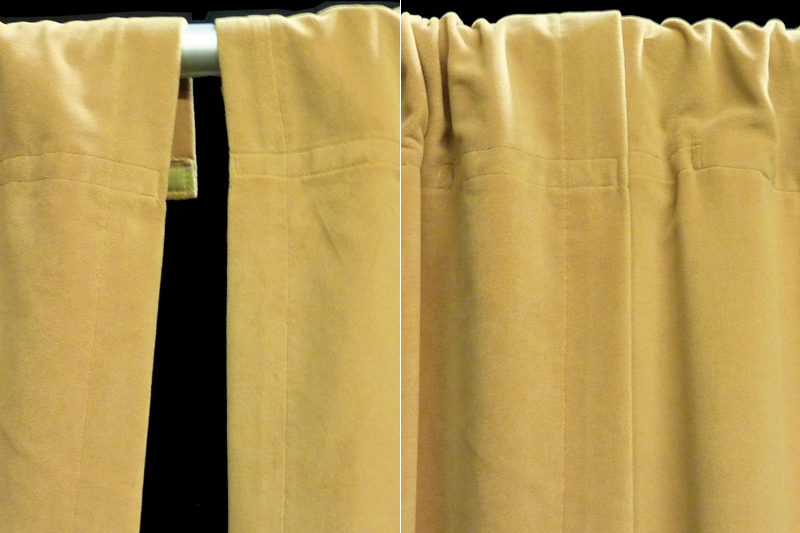
STEP 8: FULLNESS, ADD ACCESSORIES
Before going any further, adjust the drape fullness by sliding the drape pipe pocket evenly across the horizontal span.
For the smoothest look, open the “Original Velcro Tear Back Pocket” at the end of each panel, and overlap by laying the opening over the top of the next drape. Close the first and last openings at the beginning and end of the run.
Also, if using any accessories such as sign hooks, clip rods, skirt / header clamps, or other gadgets, add them now.
TIP: The more you do on the ground, the less you’ll need to do up on a ladder. That’s the beauty of the slip-lock adjustable upright pipe and drape system.

STEP 9: ADD SANDBAGS & RAISE IT UP!
You’re almost there. Add sandbag(s) as suggested for the height and pin location to further stabilize the upright. NOW you can raise it up! Walking from upright to upright, raise each up a foot at a time, sequentially, until the entire assembly is raised to the desired height.
Adjust the individual uprights up or down to achieve the “no hump” clean line look, and stand back to see that the top of the drape line is even.
TIP: It really helps here to have a second person to spot the top level of the pipe and drape from a distance, while the other person does the adjustments.
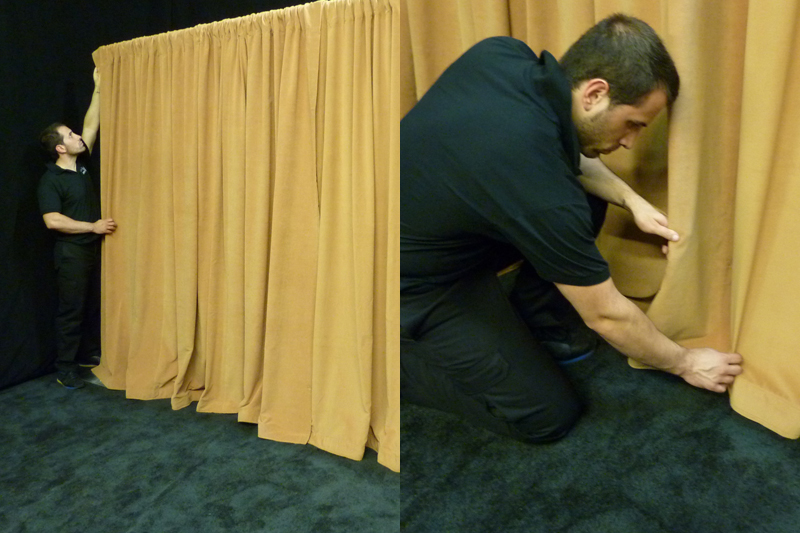
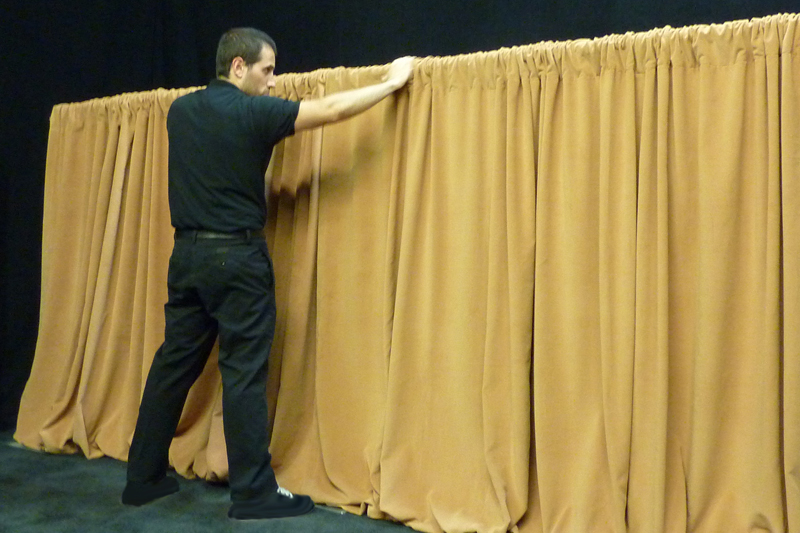
STEP 10: FLUFF & PUDDLE
Last but not least, FLUFF.
The final step is to go along the drape walls to adjust and puddle any and all extra drape as required.
TIP: A typical special event will require multiple fluffing. As the event gets closer, other staff will always walk through the pipe and drape until the last minute, so be ready to hide those pipes, re-puddle and adjust fullness right up to show time.